


Have you ever wondered if the strange noises coming from your air handler are a sign of something more serious? It’s vital to identify these issues early to prevent bigger problems down the line. In Duncan, BC, understanding how to troubleshoot common air handler problems can save you time and money. Let’s explore the key steps to guarantee your system runs smoothly and efficiently.
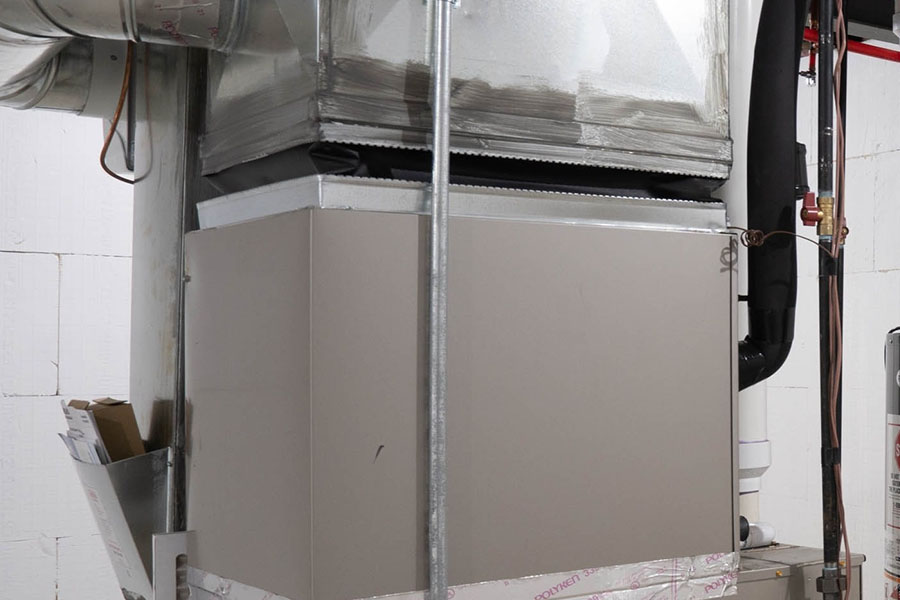
Identifying Common Air Handler Issues
When your air handler isn’t performing as it should, it can be frustrating, especially if you’re unsure what’s wrong.
Start by checking for any unusual noises. Banging or rattling can indicate loose parts or debris within the unit.
Next, pay attention to airflow; if it’s weak or inconsistent, the air filter might be clogged, restricting air flow.
You should also notice any temperature inconsistencies; if certain rooms are warmer or cooler than others, it could signal ductwork issues.
Additionally, keep an eye on your thermostat settings. The problem might be faulty wiring or a dead battery if it’s not responding correctly.
Finally, check for leaks around the unit. Any signs of moisture can lead to bigger problems later. Regular maintenance, including scheduled check-ups, can help prevent these issues and ensure efficient operation.
Checking the Power Supply
Before troubleshooting your air handler, it’s essential to check the power supply, as this is often the root of many issues.
Start by verifying your system’s electrical components are functioning correctly. Here’s a quick checklist to guide you:
- Check the Circuit Breaker: Make sure the breaker hasn’t tripped. If it has, reset it and see if your air handler powers back on.
- Inspect the Power Switch: Confirm the power switch to the air handler is in the “on” position. It may have been accidentally turned off.
- Examine the Disconnect Switch: Look for the disconnect switch near the unit and verify that it’s in the correct position to allow power flow.
- Test the Voltage: If you’re comfortable, use a multimeter to check the voltage at the unit. This will confirm whether it’s receiving the necessary power.
Taking these steps can save you time and help pinpoint the problem. Additionally, regular maintenance of your air handler can help prevent future electrical issues and ensure efficient system performance.
Inspecting Air Filters and Vents
After ensuring your air handler has power, the next step is to inspect the air filters and vents. Air filters can easily get clogged with dust and debris, which restricts airflow and reduces efficiency.
Start by removing the filter and checking its condition. If it’s dirty or hasn’t been replaced, swap it out for a clean one. This simple step can significantly improve your system’s performance.
Next, examine the vents throughout your home. Make sure they’re open and unobstructed by furniture or other items. Blocked vents can lead to uneven heating or cooling and put extra strain on your air handler.
If you notice any visible dirt or dust buildup around the vents, clean them to maintain ideal airflow. Regularly checking your filters and vents ensures your air handler operates smoothly and efficiently. Additionally, routine maintenance can improve efficiency and extend the lifespan of your heating system.
Examining the Blower Motor
The blower motor is an essential component of your air handler, responsible for circulating air throughout your home. If you’re facing airflow issues, it’s time to examine the blower motor.
Here are some steps to troubleshoot:
- Check Power Supply: Confirm the motor is receiving power. Inspect the circuit breaker and any fuses related to the air handler.
- Inspect for Obstructions: Look for debris or objects blocking the motor or ductwork. Clear any obstacles to improve airflow.
- Listen for Noises: Pay attention to any unusual sounds from the motor. Grinding or squealing may indicate wear and tear or a need for lubrication.
- Examine Wiring: Check the wiring connections for any signs of damage or corrosion. Secure any loose wires to confirm proper function.
Additionally, regular heat pump maintenance can help prevent issues with the blower motor and ensure optimal performance, leading to long-term comfort and energy efficiency.
Assessing Refrigerant Levels and Leaks
Airflow issues can sometimes be traced back to refrigerant problems in your air handler. First, check the refrigerant levels. Low levels can hinder the cooling process, leading to inadequate airflow. You can usually find the refrigerant gauge on the service port. It might indicate a leak if you notice it’s below the recommended level.
Next, inspect your air handler for signs of refrigerant leaks. Look for oily spots around the coils or connections, as these can be telltale signs. If you suspect a leak, it’s essential to call a professional, as handling refrigerants requires specialized knowledge and tools.
Finally, make certain your air handler is correctly charged with refrigerant. An incorrect charge can reduce system efficiency and increase energy costs.
Conclusion
By tackling these common air handler problems, you can save yourself from the nightmare of a sweltering summer or frigid winter. Imagine being stuck in a house that feels like an oven or an icebox! Regular checks and maintenance can be your superhero cape, swooping in to save the day. Don’t let an air handler disaster ruin your comfort—stay vigilant, and you’ll keep your home a cozy haven all year round!